Join Our Ford Truck Forum Today

Document your Ford truck project here and inspire others! Login/Register to view the site with fewer ads.

My 521 Build Thread

Now for the bearings.

Rod bearings. 8 sets.
ImageUploadedByTapatalk1376610127.048099.jpg

Main bearings.
ImageUploadedByTapatalk1376610145.715219.jpg

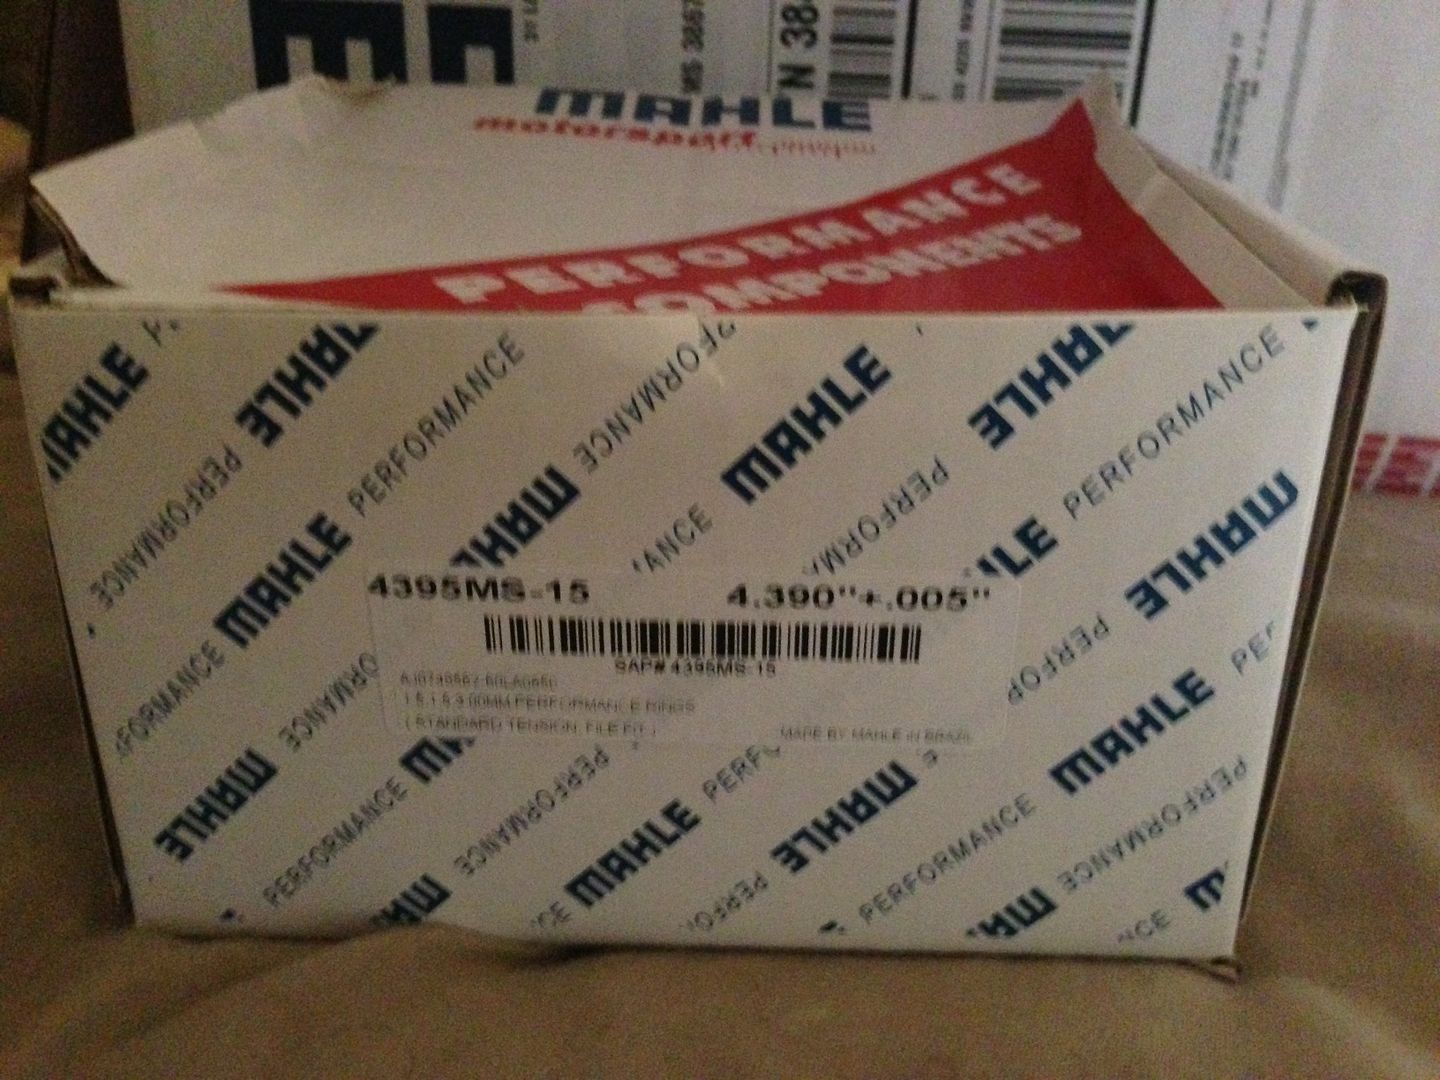
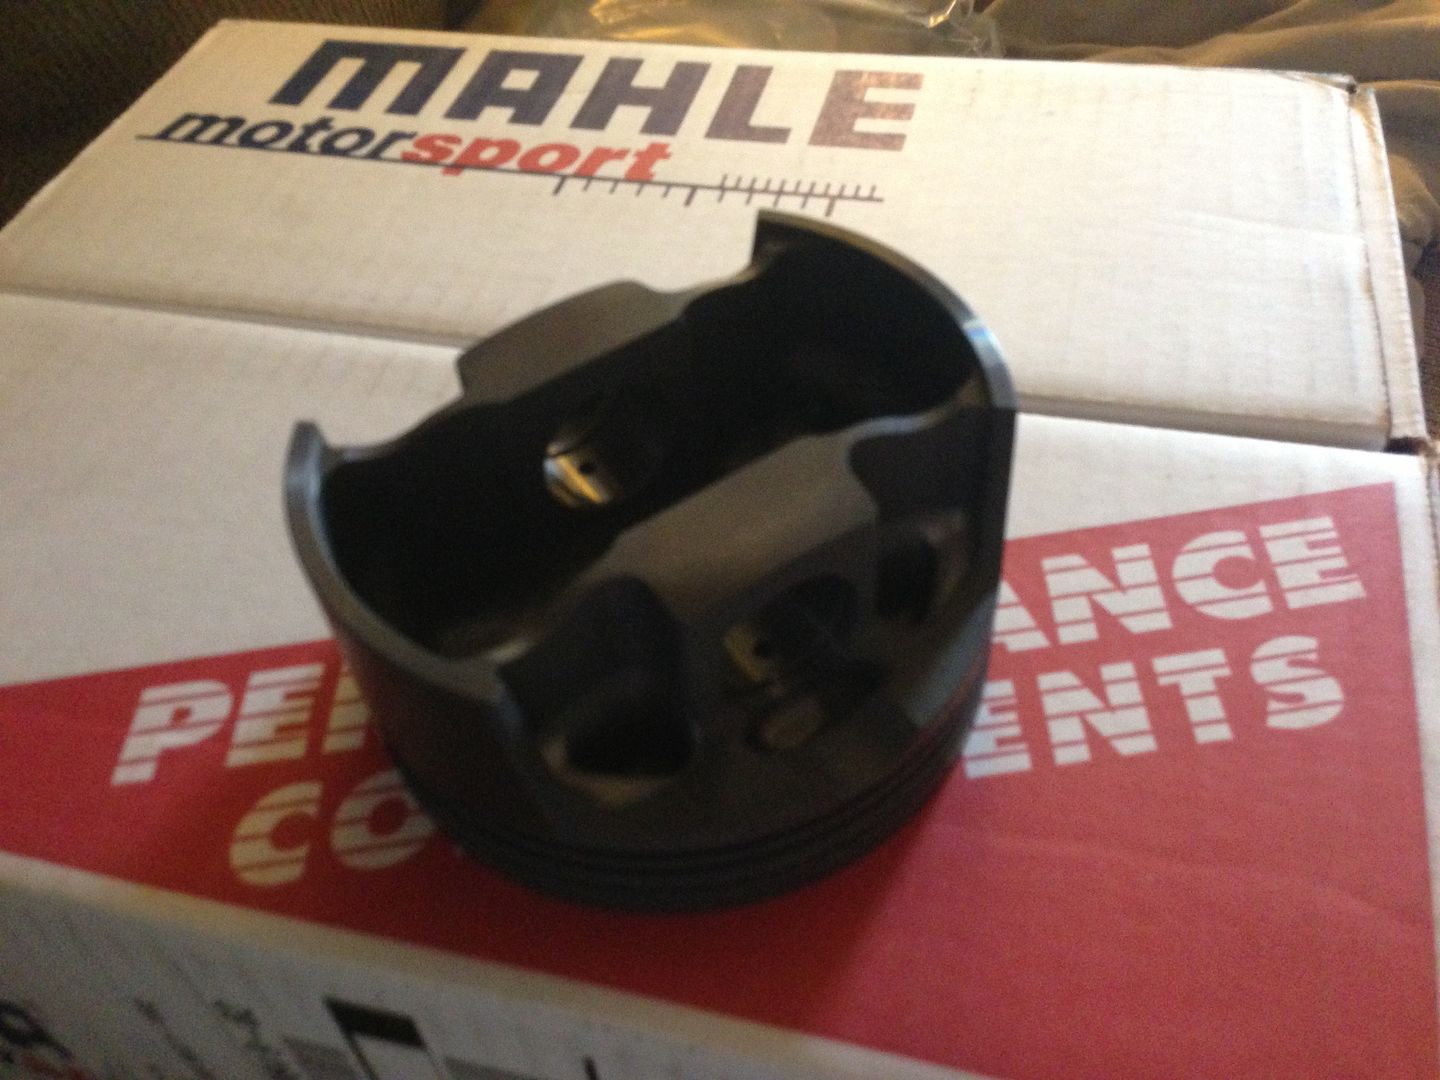
Now on to the piston box.

Mahle rings
null-13.jpg


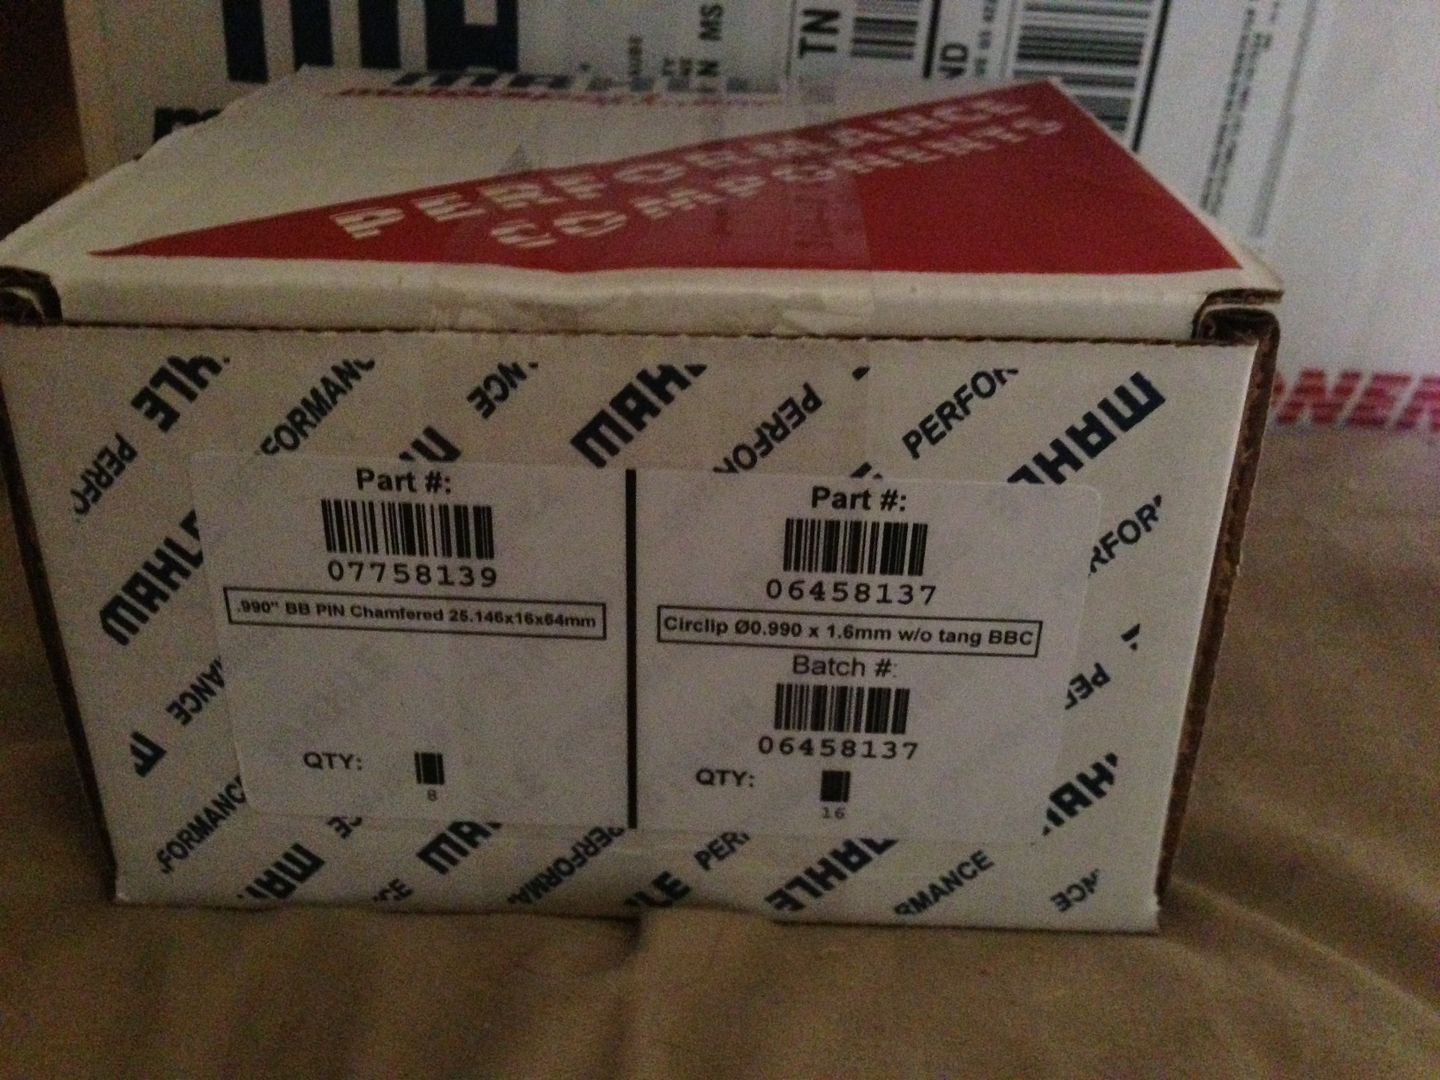
Mahle pins and retainers
null-14.jpg


And finally, the Mahle PowerPak pistons
null-15.jpg

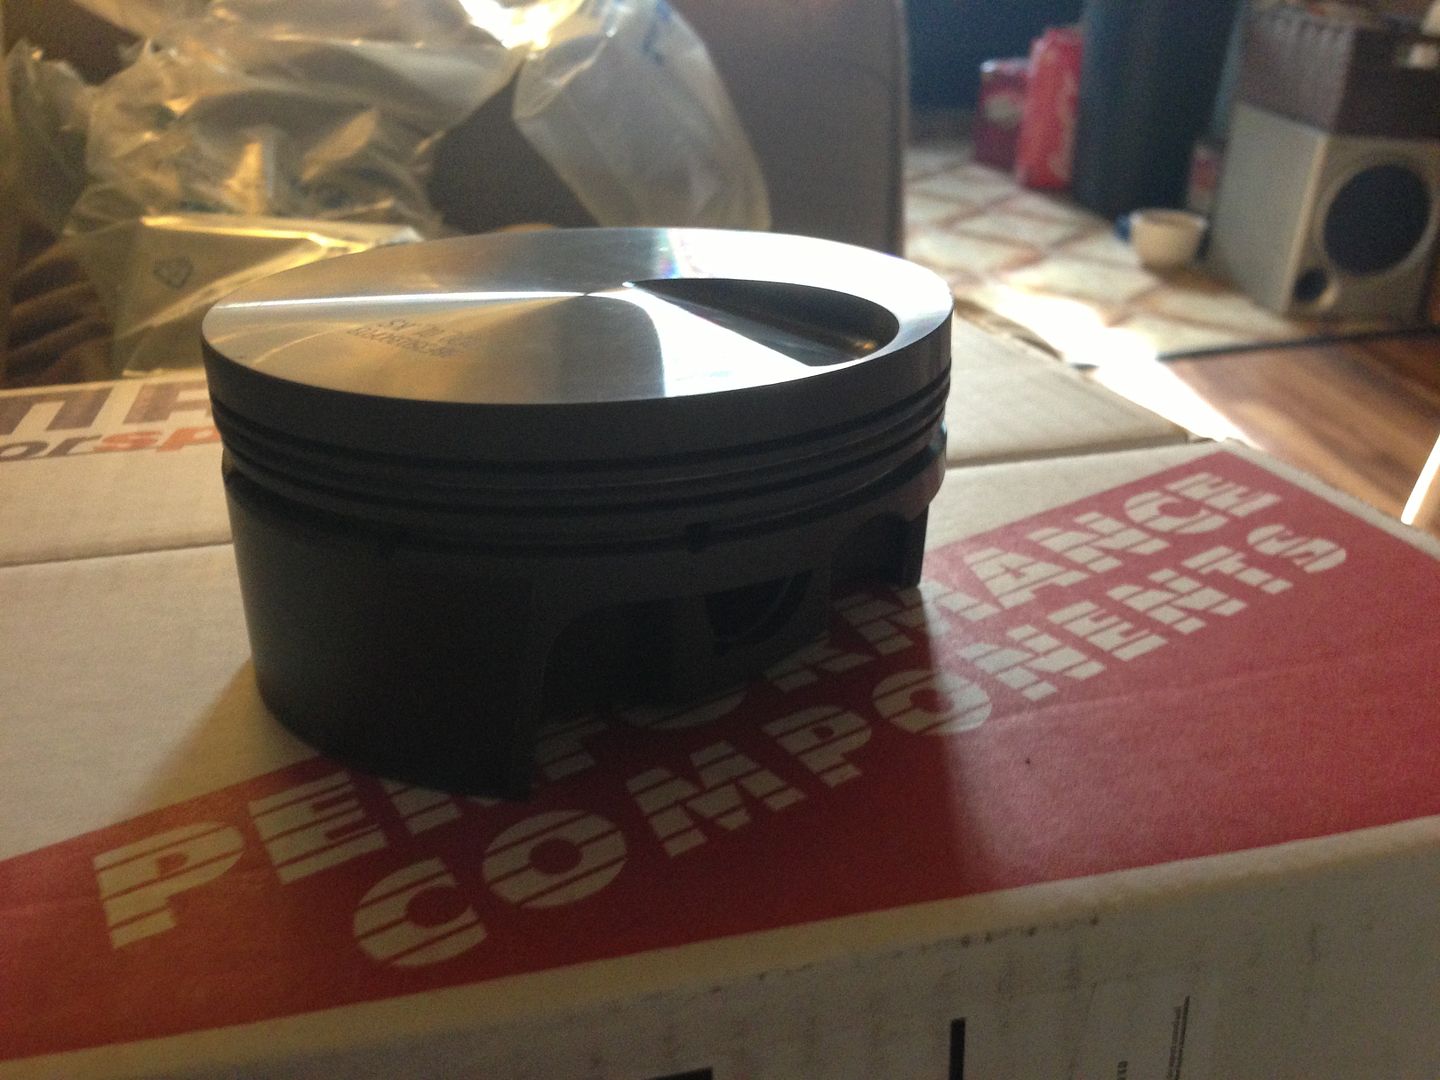
I have to say that this is one beautiful piston. Forged aluminium.
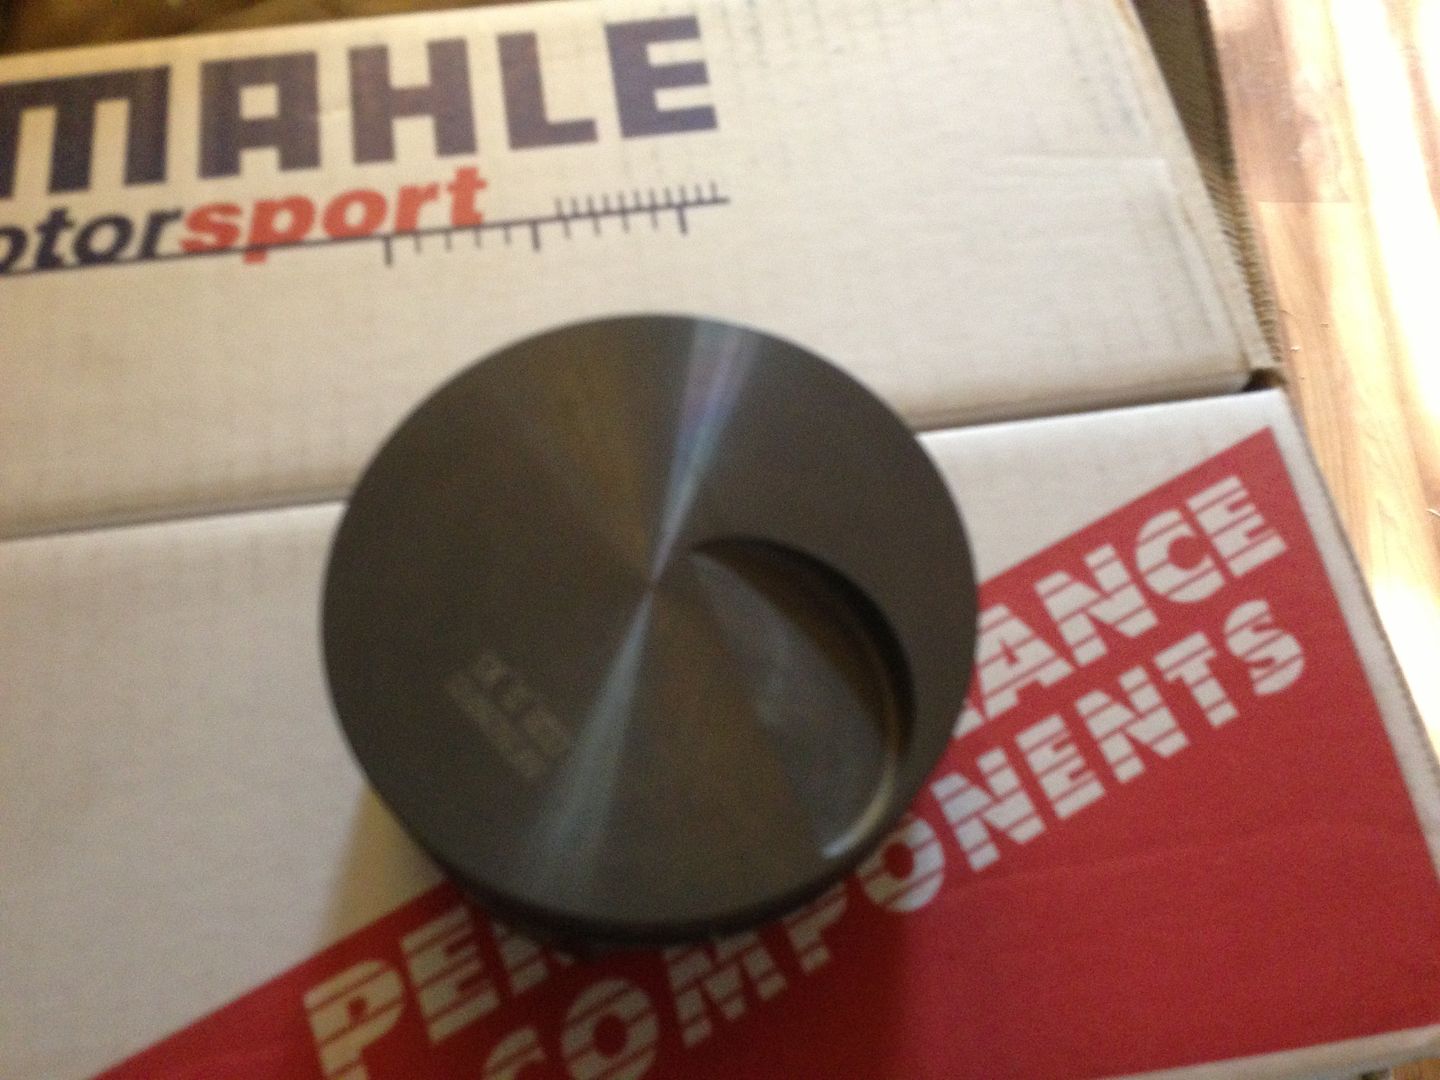
null-16.jpg

3cc valve relief.
null-17.jpg


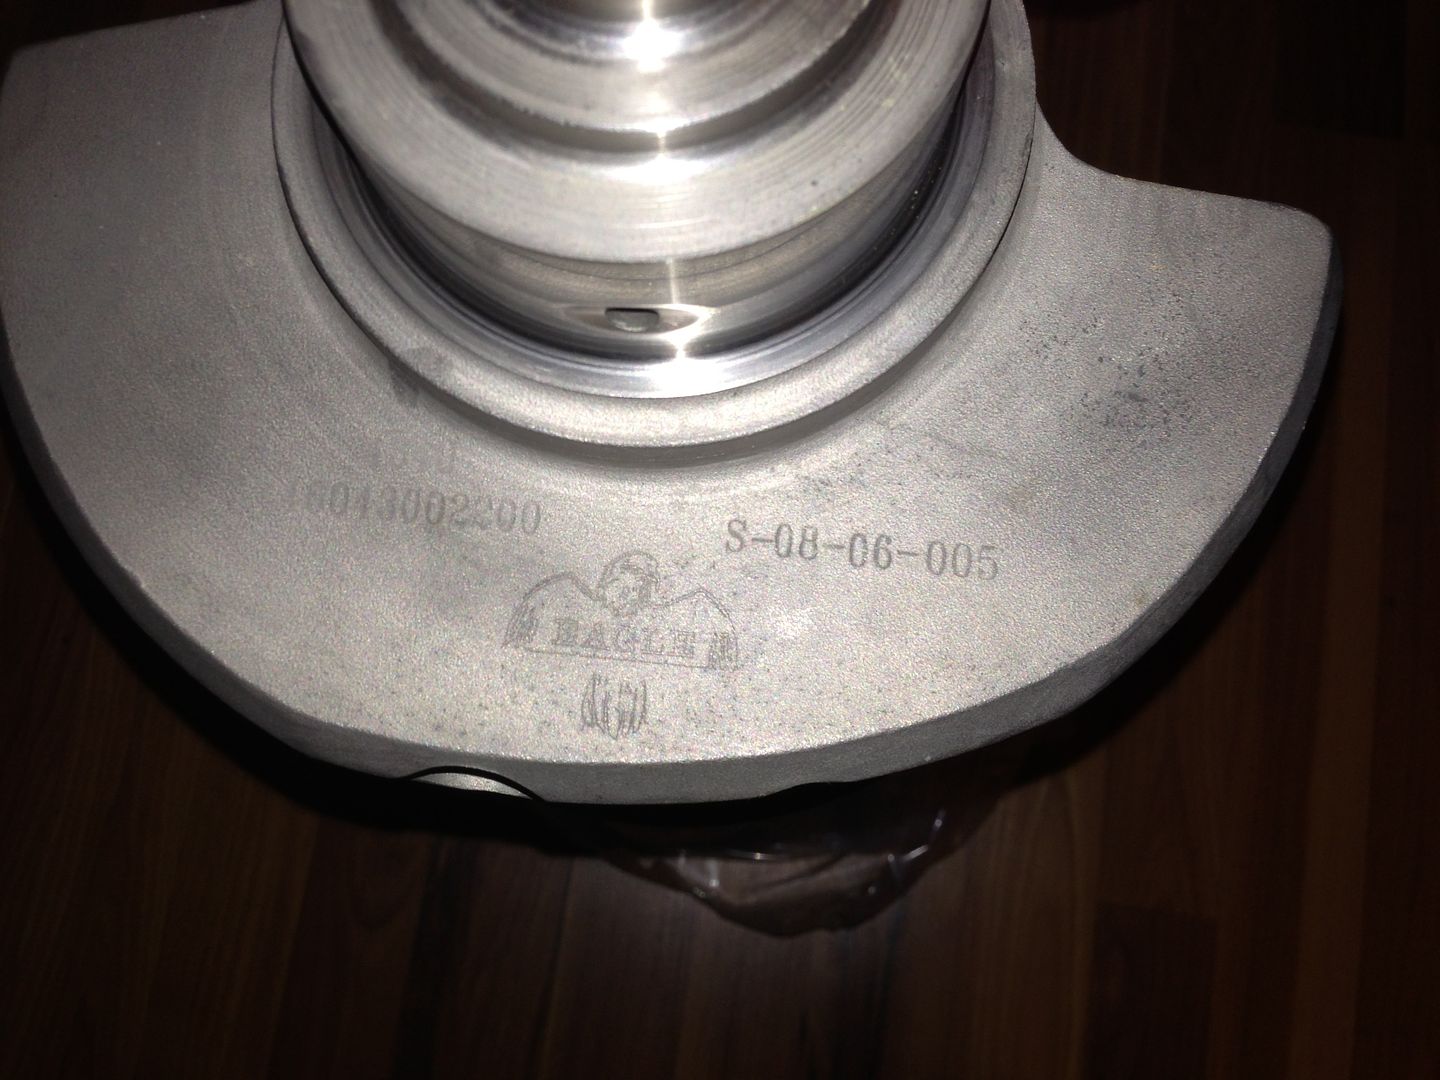
Now the main attraction. The stroker crankshaft.
null-18.jpg

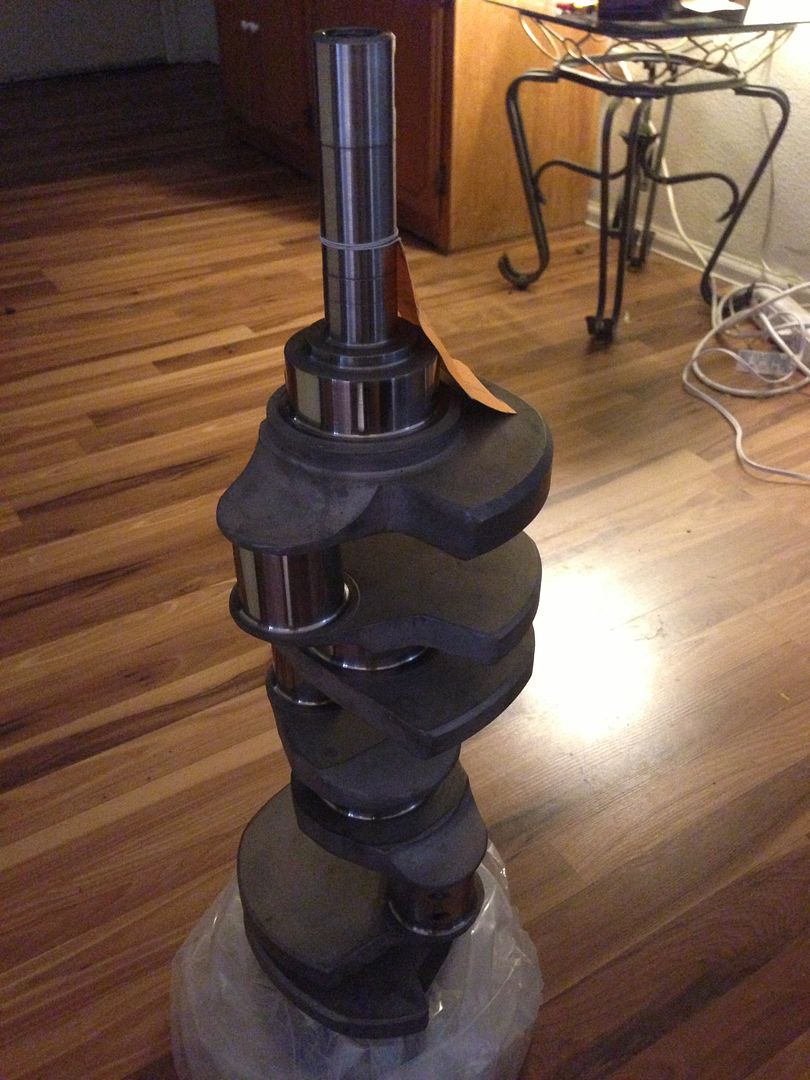
Forged in 4340 steel. This thing weighs a ton!
null-19.jpg

null-20.jpg


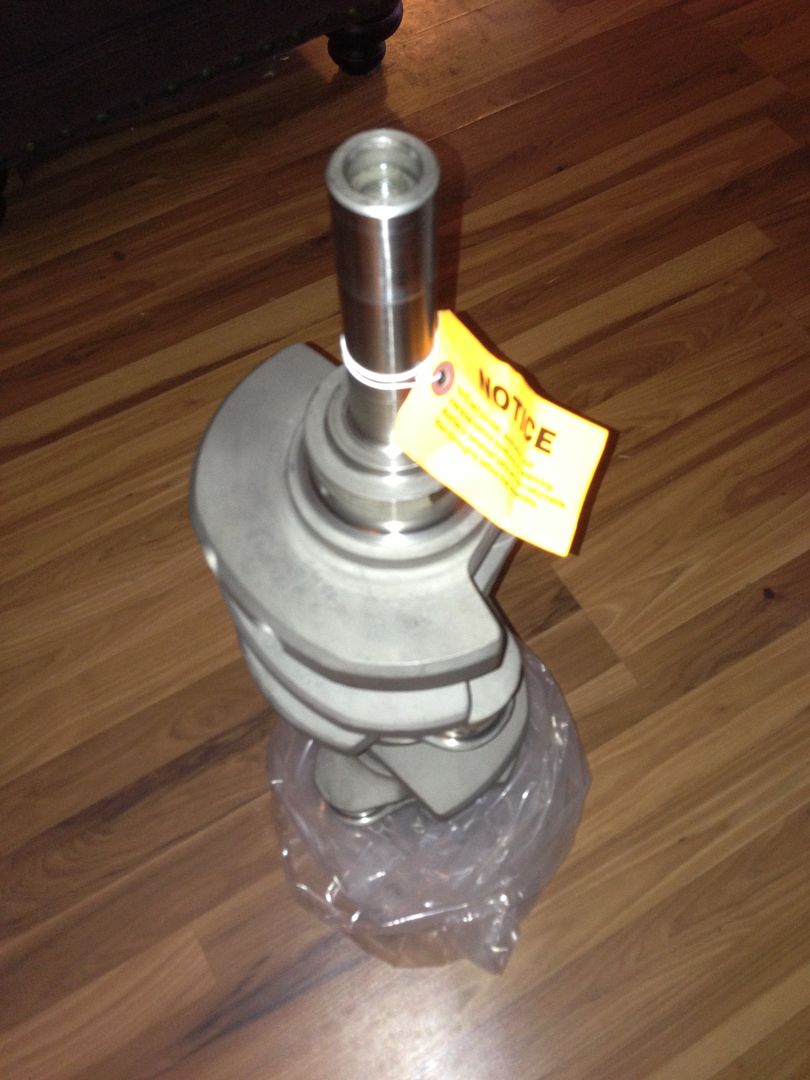
Well that accounts for everything I paid for! I'll be hauling it in tomorrow and probably will be checking bearing clearances in the mains to know if I need to hone more or not. More to come. You know the drill. Stay tuned!
 
So today I got all my parts up to the shop and started to check bearing clearances. To do this, firstly, you must install the bearing and torque down the main cap.
ru6umuhu.jpg

There we go. Now we measure the main journal on the crank and set a dial bore gauge to that amount. We then check the bearings. In my case all my bearings had about 2.1-2.3 thousandths clearance. Now it's generally a good rule to follow to have a thousandth per inch clearance. So this means, I'll have to have my crank turned. It's cheaper than another set of bearings. I also did this for the rod bearings and rod journal. Came out to 2.8-3.0 thousandths clearance. That is a little too much and unfortunately, I'll just have to order a set of one undersized bearings. Both of those will be happening next week. This is good news though because it means that all my journals and bearings were within spec in terms of taper. They would run in a stock type application, but if any power is being made, it wouldn't last long. So when the correct bearings and the crank being turned are done, that will be good to go. I didn't get to take many pictures. There just wasn't much to see really.

The moral of the story is, rotating assemblies are convenient, but they aren't perfect.
 
looks like a decent start. gonna zero deck? shave the head's any?
 
I will be decking the block. Just to straighten it out. Same for the heads. Not really to loose a lot of material though. I need to keep my compression down to run on pump gas.
 
Oh yea i forgot you mentioned that after reading threw the thread.
 
Small update. Been waiting for a paycheck. Decided to get my rod bearings coated. Coatings can add a small thickness of .0003 on up to about .0005. That should tighten my clearance up a bit on those. Crank still needs to be turned and should hopefully do that next week.
 
Another small update. I managed the hone the housing bores closer to the high side. This isn't the best way to go, but it is the cheapest. Now I have .003 clearance on all the main bearings. Should get the rod bearings back Monday from PolyDyn. So hopefully that's all good to go and I can begin honing the cylinders out to size.
 
I was informed that my bearings are done and I will be picking them up tomorrow. But that doesn't mean I've been up to nothing. Today I dropped the crank in to check the end play. Now you generally want to have about .005-.006 end play. You should hear a light clunking as you move it back and fourth.

Here we have the crank in the block. The only cap necessary for this is the thrust cap. This is because we are only checking linear movement of the crank and the other caps don't effect that. ImageUploadedByTapatalk1377566087.936792.jpg

I originally has .002 end play. To archive more, you simply sand the thrust bearings(the sides!) down little bits at a time. Just a couple passes by wet sanding. Using a long screw driver to lightly pry the crank one direction to zero out the gauge on a magnetic stand. Then move the crank the opposite direction to see how much it moved. Here you see I have just a tad over .005. Right where it needs to be. ImageUploadedByTapatalk1377566240.269019.jpg

Tomorrow I will probably hone the block out 4.390. That way I can check the rod clearance, and then mock up a piston so I can prepare the deck for surfacing.
 
Got the bearings back today! They look great.
ImageUploadedByTapatalk1377628794.040056.jpg

As you can see, the coating was applied properly and evenly.

a7e5y6a3.jpg


Time to check those clearances again.

3a3e5e9u.jpg

Bearings installed, rods torqued, dial bore gauge set.

yheja9as.jpg


They all checked out! 2.4-2.7 thousandths clearance. Right about perfect. I won't be honing this week due to not having my head studs yet. I will however tackle balancing.
 
There is an unspoken rule here. Never count on anything to be perfect. Maybe this will help give an idea of the kind of work and headaches you get into when building an engine. Engine builders don't get enough credit.

So I put the crank on the balancer.
2ubehe9a.jpg


Made my bob weights by weighing a rod, piston, rings, pin, pin retainers, and bearings. They combined weighed 2463g. The crank was targeted at 2350 from eagle. Well that was already an issue. Upon running the machine once, my suspicions were confirmed.
uqy8ybe8.jpg

It spun up and came back reading light. A second and third attempt repeated the results.
u6yryqaz.jpg

Light about 30g on each side.
Unfortunately that means I'll have to weld up some of the holes they drilled. There's two ways to do this. Fill the holes with weld and rebalance, or machine some "weights" the proper size and to a similar weight needed and weld them in. For the sake of time and professionalism, I will make weights.

This is done on a lathe.
pybusu7u.jpg

This will then be inserted(semi-press fit) into the drilled hole on the crank. And then welded up.
zaza2a2a.jpg

I ran out of time today to make the second one. But tomorrow I will make the second and install both.
 
1,320
82
I can't wait to see you spin it up to check for journal roundness. Those eagle cranks leave something to be desired.


How has your time been at SAM thus far? Which program are you in?

Nice build so far.

Derek.
 
Last edited:
I can't wait to see you spin it up to check for journal roundness. Those eagle cranks leave something to be desired.


How has your time been at SAM thus far? Which program are you in?

Nice build so far.

Derek.

The journals are round. I've ready checked them. The balance is way off though. I'm assuming that's why my kit was cheaper than some if the others. Not balanced.

SAM has been an awesome experience so far. I'm on the last stretch of the block program. I'll be going into head class at the beginning of September. I've learned way more about engines than I ever imagined I would. Being able to run the machines is a very cool experience and slowly seeing engines come together by your own hand and hardwork is very rewarding. The instructors are very helpful and insightful. I'd recommend it to anyone who is curious about working in the industry. At least tour it and see what it's all about. Being a student has its benefits when it comes to buying engine parts as well. Hence why it's good to have a project while you're in school. It also helps you learn just a little bit more about what you'll really be doing in a shop. There's also a job placement. I believe it's like ~96% placement rate. Maybe more I don't know for sure. And you could get a job working for a big race team. It's a good industry to be in.
 
So today wasn't very good either. I installed the weights and welded them in.
ypa7emy2.jpg
e6ynesad.jpg


Spun it up and unfortunately, still light on the rear side. In a different spot though. This is somewhat typical. We ran out of gas for the welder so I won't be able to fix that til Tuesday next week(small holiday). The place that needs weight now is the side of the counterweight. To fix that though, I'll have to simply add weld to that side til the desired weight is achieved.
 
Okay! So after a long weekend, I got back to the shop. Added some weight to the side of the counterweight via weld. Spun it up once again, and voila! Right on the money.
zuvehu4u.jpg

Here you can see where the weld was added. When balancing an aftermarket crank it can be very interesting to see how off they are. You can usually pay an extra couple hundred dollars for an already balanced one. But in my case, where I can do it for free, it's worth it to save some money.

Now I just have to hone it so I can mock up the deck and then cut the deck. Then we can assemble the short block.
 
Last edited:
This is interesting( from someone who has never rebuilt an engine.)

A typical rebuild wouldn't be this complex. Factory tolerances are much more broad than a performance tolerance. More precise. There's so many little things you can do to make just a few more horses. A typical rebuild will, if the engine was running when disassembled, be as simple as take it apart, clean it up, install new parts, go down the road.
 

Manimal

California Chapter member
64
2
Great build, but are you going to leave the welds like that or clean them up?
 

Ford Truck Articles

Recent Forum Posts

Top